Building a natural stone bench with a small fire pit
/ table in the garden
We wanted
a small stone bench with a table that doubles as a
fire pit in our garden so can we do that ourself we
asked? Well sure we can and so can you. As you can see in the
attached step by step photos we just went ahead to
go for it, and I need to mention we had no prior
experience in working with either stones nor cement.
Our project needed the
following materials, allot of natural stones
whatever looks nice and you can find in your area or
if needed you can buy some at your construction
material supplier. 2 bags of cement,
about 10
bags of sand,
some leftover platic pieces or styropor as
filling material like old plastic bottles (to fill the
gaps between the stones, see images), then for the
cover some old broken tiles and cement plus filler
(grout) in the colors of your liking. The quanities
of the materials of course vary depending of the
size of the garden bench and fire pit you choose.
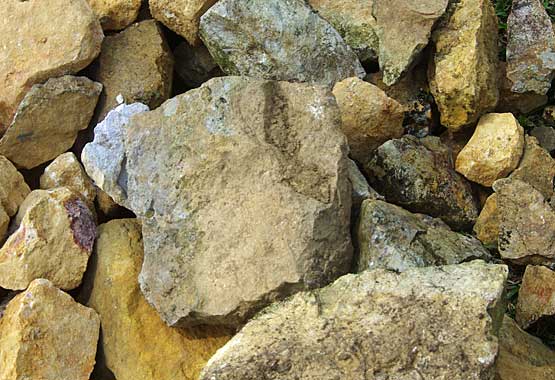
This is the type of stone
we used
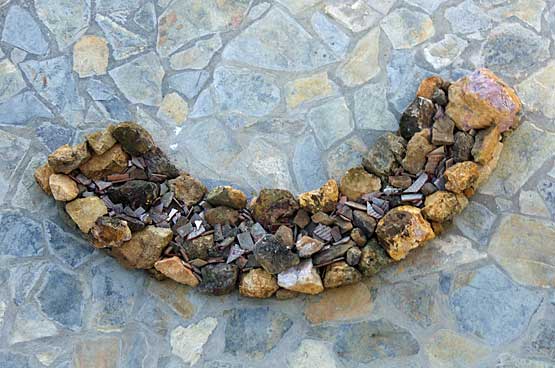
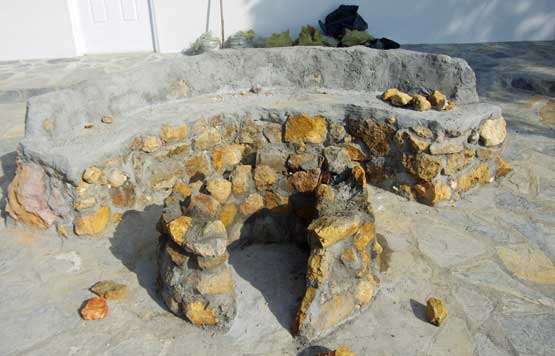
We layout the stones on
the flor according to the size and shape we want the
bench to become.
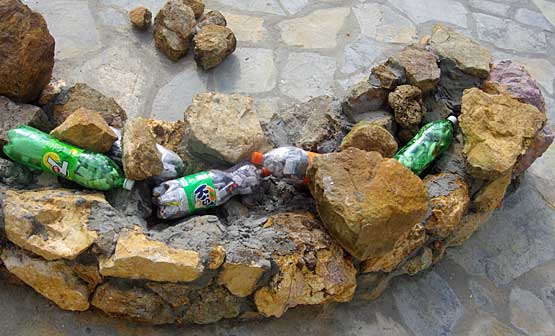
We mix the cement and
build the bench stone by stone, the inside can be
filled using some plastic trash bottles, styropor or
whatever you have around.
For
the cement mix we use 3 parts sand and 2 parts
cement plus adding water. Mix well either by
hand or in a bucket with a drill and the
respective concrete mix attachment.
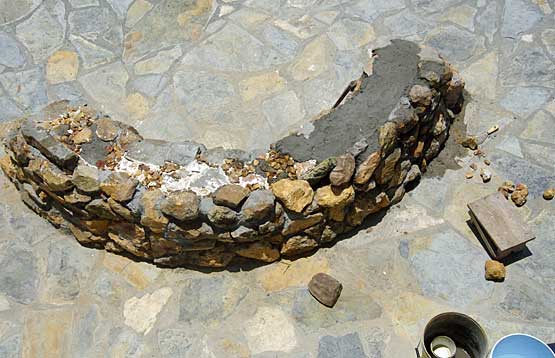
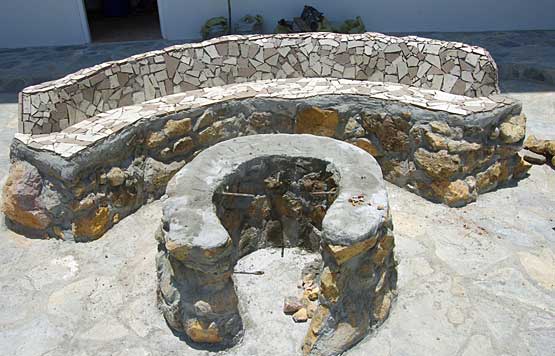
NAs you can see
in the following images, as mentiones stone by
stone, and then level the top and back out with
plain cement mixture to give it a leveled base for
the placing or instalation of the tiles. As tiles we
used some leftover tiles that we broke into small
pieces. Insalling the tiles also is easy, add the
mixed tile cement over the surface where you want
the tiles (either little by little aarea or add the
mixture just tile by tile on the back of the tiles a
clue them on the cement, then fill the gaps with the
grout (choose the one with sand for wide gaps)
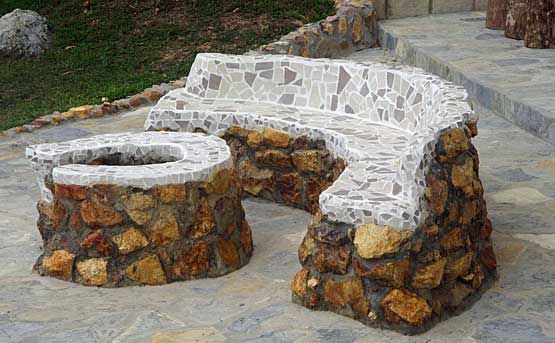
The finished products can be seen in the last image,
we paited the stones with a sealing marine lacquer
in order to protect the stones and giving it the
cool colorintensive wet look.